Short answer: for most client pages, invite the client as a guest and start with “Can view” or “Can comment”. Raise the level only when the client must change something. This is a documentation-based checklist. I did not test it in a live workspace.
Who this checklist fits
It fits small teams that share project pages with clients or contractors. It also fits you if you use Notion as a light client portal. It does not fit you if clients must never see a tool you use. In that case, export a PDF instead.
What Notion says about guests
Notion Help describes guests as people outside your workspace, such as contractors or clients. Anyone who uses your organization’s email domain joins as a member, not a guest. Invited guests need their own Notion account to open the page. (Source: Notion Help, “Sharing & permissions”, checked 2026-10-30.)
The four permission levels
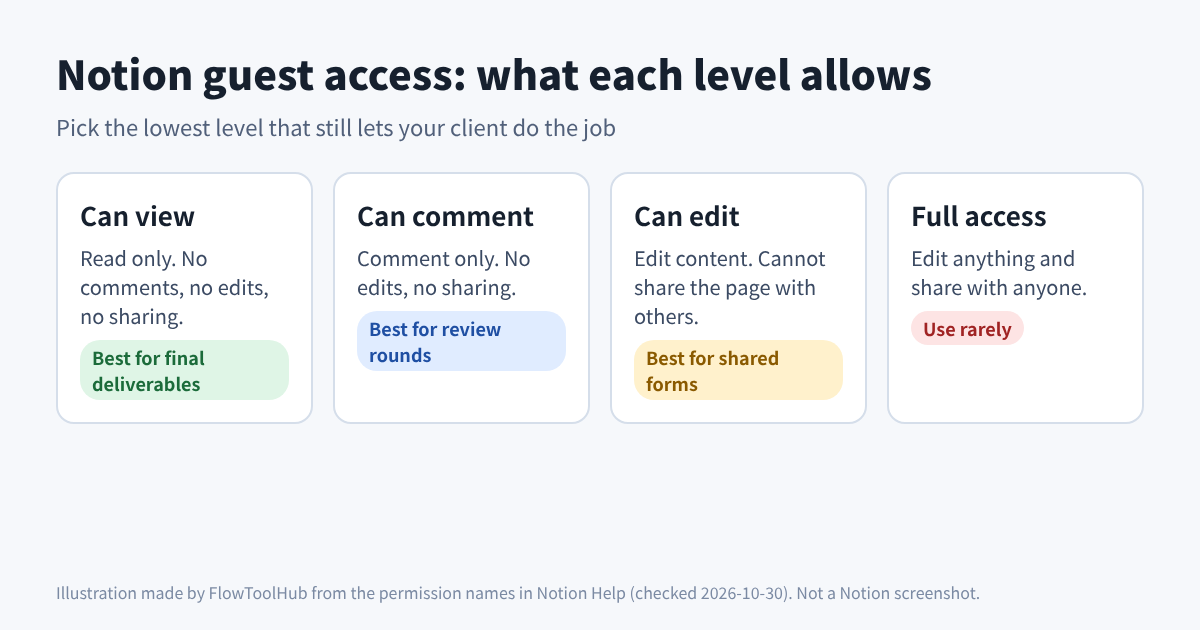
| Level | Client can do | Client cannot do |
|---|---|---|
| Can view | Read the page | Comment, edit, share |
| Can comment | Read and comment | Edit, share |
| Can edit | Read, comment, edit content | Share with others |
| Full access | Edit and share with anyone | Nothing on this page |
Database pages also show “Can edit content” and “Can create”. Those two appear only on database pages.
Pre-share checklist
- Move the page first. Put the client page in its own parent page. Then you share one place, not your whole workspace.
- Pick the lowest level. Use “Can view” for finished work. Use “Can comment” for review rounds.
- Invite by email. Use the Share menu and add the client’s email. The guest then gets an email with a link.
- Avoid “Full access”. It lets the guest share the page with anyone. Few client jobs need that.
- Check the plan limit. Notion Help says guests are limited by a guest limit that depends on your plan. The page does not say whether guests count as paid seats. Check your plan page before you invite many people.
- Test as the client. Open the link in a private window with a different account.
Invite or public link?
An invite ties access to a named person. A public link works differently. Under General access, “Anyone on the web with link” lets anyone with the link view the page, even without a Notion account. Visitors must log in to comment or edit. You can also set a “Link expires” time.
Use an invite for anything private. Use a public link only for content you would be fine posting openly.
Close access when the job ends
- Open the Share menu on the page.
- Open the dropdown next to the guest and choose “Remove”.
- Check subpages. Notion Help says subpages keep their own permissions.
- Check pages that link to this one. A page can still be reachable through a more broadly shared page that contains it.
Cost check before you rely on it
Do not assume guests are free. The sharing page does not state it, so confirm on Notion’s current pricing page. If you need a firm answer, write down the plan name, the guest limit and the date you checked.
Your next step
Open one client page today. Move it into its own parent page, set the guest to “Can comment”, and test the link in a private window.
Sources: Notion Help: Sharing & permissions (checked 2026-10-30). Related: Google Drive visitor sharing checklist and Slack Connect vs guest.