Google Calendar appointment schedules let clients book a time with you from a public link. For a small team, that can replace a lot of email back and forth. This checklist shows what to set before you send the link, so clients do not book a slot you cannot keep.
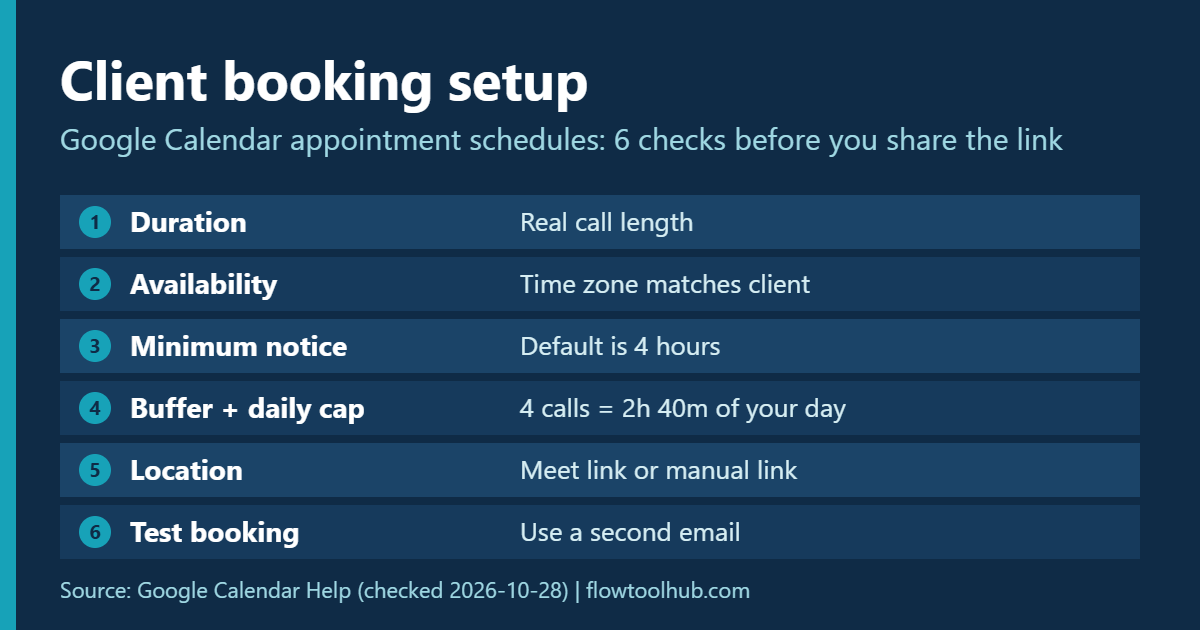
Quick answer
Use Google Calendar appointment schedules if you only need simple booking: one person or a small team, clear time slots and a Google Meet link. Set the availability, buffer time and daily cap first. Then test the page with a second email address before you share it.
Who this fits, and who it does not
- Fits: freelancers and small teams who already live in Google Calendar and book 15 to 60 minute calls.
- Does not fit well: teams that need custom reminder text, automatic links for non-Google video tools, or co-hosts outside their own domain.
Google’s help page lists those limits. We summarize them below. This is a document-based review. We did not run a hands-on test for this article.
What you can set, and what to check
| Setting | What it controls | Check before you share |
|---|---|---|
| Duration | Length of each booking | Pick the real call length, not the ideal one |
| General availability | Days, hours and time zone | Time zone matches the one clients expect |
| Scheduling window | How far ahead people can book, and the minimum notice | Default minimum notice is 4 hours, so today may look empty |
| Buffer and daily cap | Gap between calls and bookings per day | Leave time to write notes and reset |
| Calendar checks | Avoids double booking against your calendars | Turn on the calendars you actually use |
| Location | Google Meet, in person, phone or none | Third-party video tools need a manual link after booking |
| Booking form | Name and email, plus extra fields | Add one question that saves you a follow-up email |
| Reminders | Up to 5 reminders | Reminder email text cannot be edited |
| Payments | Requires a connected Stripe account | Skip it if you invoice later |
Setup checklist
- Open Google Calendar on a computer. The help page says you cannot set this up in the mobile app.
- Create an appointment schedule and give it a clear title. Anyone with the link can see it.
- Set the duration, then add your weekly availability and time zone.
- Set the scheduling window and the minimum notice.
- Add buffer time and a daily booking cap.
- Choose Google Meet or another location. Write a short description of what the call covers.
- Edit the booking form. Keep it short.
- Open the booking link in a private window and book a test slot with a second email address.
A quick capacity example
Say you offer 30 minute calls, with a 10 minute buffer and a cap of 4 bookings per day. Four calls use 120 minutes of call time. Four buffers add 40 minutes. That is 160 minutes, or about 2 hours 40 minutes, of your day. If that feels too much, lower the cap before you publish the link.
Limits to know before you rely on it
- Co-hosts must be people or groups inside your own domain.
- Appointments cannot be added to resource calendars.
- Some features need an eligible Google Workspace or Google One plan.
- Reminder text cannot be customized.
When a separate scheduling tool may be worth it
Look at a dedicated scheduler only if one of the limits above blocks your work. For example, you may need custom reminder text or co-hosts from other companies. Compare the current plans on each vendor’s own page first. We have not tested those tools here, and we make no claim about their features.
Your next step
Create one appointment schedule with a 30 minute duration, a buffer and a daily cap. Book it once from a second email address. Fix anything that looks wrong, then share the link.
Source: Google Calendar Help, “Create an appointment schedule” (checked 2026-10-28): https://support.google.com/calendar/answer/10729749. This page has no affiliate links.