Turn the Zoom waiting room on for client calls, and choose who must wait before you rely on it. For most small teams, the best starting rule is simple: your own team joins directly, and everyone outside your account waits until you admit them.
This guide is based on Zoom’s own help pages (checked 2026-11-04). It is a document-based comparison, not a hands-on test of every plan.
Who this is for, and who it is not for
Good fit: freelancers and small teams that host client calls, sales demos, or onboarding sessions and want to see who is at the door before the meeting starts.
Not a full security plan: the waiting room controls entry. It does not replace sharing rules for files, recordings, or chat. Zoom’s page also does not describe how the waiting room works together with a meeting passcode, so check that setting separately.
What the waiting room does
According to Zoom, the waiting room lets the host control when participants join. You can admit people one by one, or hold everyone and admit them together. You can also move a person back to the waiting room during the meeting.
Choose who waits
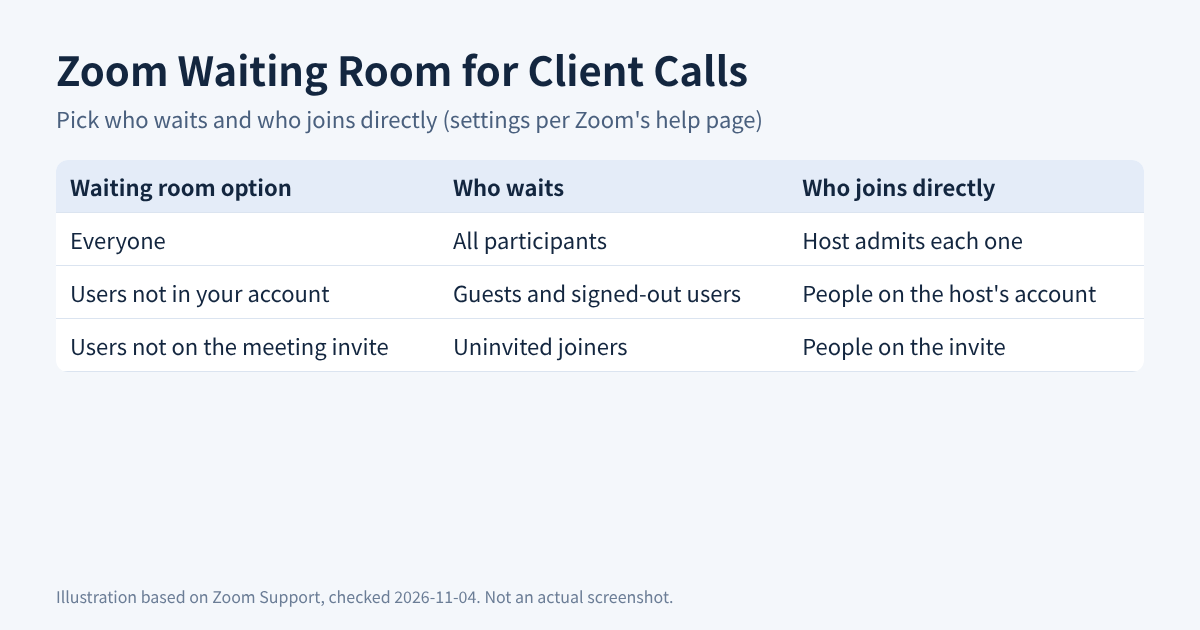
Zoom lists several options for who goes into the waiting room. Pick the one that matches your clients.
| Option | Who waits | Best for |
|---|---|---|
| Everyone | All participants | First calls with unknown guests |
| Users not in your account | People outside the host’s account, or not signed in | Small teams with a shared Zoom account |
| Users not on the meeting invite | Anyone who was not invited through Zoom or a calendar integration | Repeat client meetings with a fixed guest list |
| Users not in your organization | External people; connected accounts in your organization skip it | Companies with several connected accounts |
Zoom also describes a version that lets approved domains skip the waiting room, and a setting that lets people invited during the meeting bypass it.
Where to switch it on
- Account level: an owner or admin turns it on in the Admin Center under Settings, Meeting, Security. Admins can lock it.
- Group level: an admin turns it on for a group. If the toggle is grayed out, it is locked at the account level.
- User level: you can turn it on in your own web portal under Meeting, Security, unless an admin locked it.
- During a meeting: use Host tools to enable it. Zoom notes that participants then see the default waiting room, not a customized one.
Run it during the call
When someone is waiting, open Participants and click Admit next to the name. On desktop and mobile there is also an Admit all button. Zoom’s page for web does not mention Admit all. To send someone back, open Participants, choose More next to the name, and pick Put in Waiting Room. You can also message the waiting room participants from Chat.
Free or paid?
Zoom says a paid account is required to specify waiting room options and to customize the waiting room. Customization covers a title of up to 64 characters and an image, logo with description, or video. If you only need the basic waiting room, check your plan first, because the help page does not list every plan.
Pre-call checklist
- Decide the rule: Everyone, or only people outside your account.
- Confirm the setting is not locked by an admin.
- Test with a colleague on a different account.
- Name who will click Admit, so clients do not wait alone.
- Send the client a one-line note: “You may wait a minute until I admit you.”
Do this next
Open your Zoom web settings today, go to Meeting, Security, and set the waiting room to admit people outside your account. Then run one test call with a friend before your next client meeting.
Source: Zoom Support, “Enabling and customizing the waiting room” and “Using waiting room during a meeting” (checked 2026-11-04). Features and plans can change, so confirm in your own account.